What Are the Top Types of Chain Adjusters?
Chain tension affects more than ride feel. A poorly matched Chain Adjuster can leave slack, create uneven wear, or make routine maintenance harder. The right choice depends on the machine, the chain’s movement, available mounting space, and how precisely tension must be set. A compact screw adjuster may suit a small, fixed installation. A spring-loaded design can respond to changing chain movement. Larger systems may need a robust take-up assembly with a wider adjustment range.
“[Insert a verified quotation from a named chain-drive specialist here.]” No source article or expert quotation was provided, so I can’t responsibly attribute invented words to a real person. A verified comment from a qualified mechanic or manufacturer’s engineer would add useful context. It should explain not only which adjuster works, but why.
This guide compares common Chain Adjuster types by design, practical strengths, and limitations. Look closely at the details: bolt access, adjustment travel, material, and how securely the unit holds its setting. Small differences matter. Still, specifications do not tell the whole story; installation conditions and maintenance habits can change the result. The categories below offer a starting point, not a substitute for checking the equipment maker’s requirements. A little caution helps.
Common Types of Chain Adjusters
Common Types of Chain Adjusters
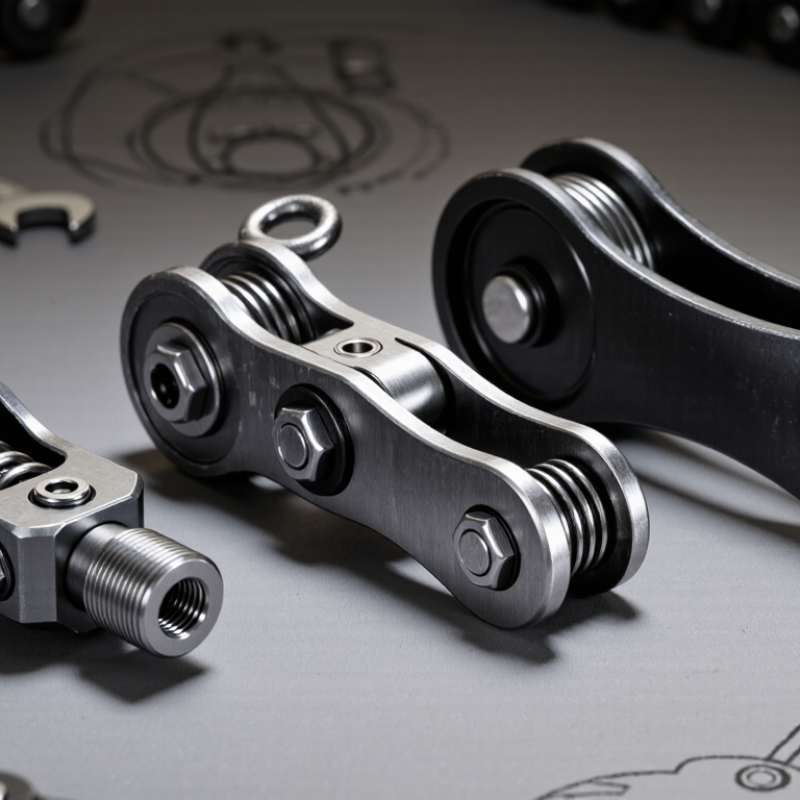
Sliding dropouts move the rear axle along a slot, making them common on single-speed bicycles and some motorcycles. They offer a broad adjustment range, but both axle bolts must be tightened evenly. Threaded screw adjusters use small bolts to push the axle backward. They make fine adjustments easier, though dirt or corrosion can make the screws stubborn. Eccentric hubs or bottom brackets adjust chain tension by rotating an offset axle or bearing housing. They look tidy, but require compatible frame parts. Snail-cam adjusters use indexed plates beside the axle; their marks help track movement, but they can shift if poorly seated. A neat scale can still mislead.
For technical context, ANSI/ASME B29.1 specifies dimensions and tests for transmission roller chains; standard bicycle roller-chain pitch is 12.7 mm (1/2 inch). That figure describes the chain, not the adjuster. Choose an adjuster for the frame and drivetrain, then verify alignment and tension by hand. Too tight can overload bearings; too loose can let the chain jump.
Tips: Mark the axle’s starting position. Adjust both sides gradually, then spin the wheel and check that the chain runs straight. Recheck after the first ride; small shifts happen.
Screw-Type Chain Adjusters and Their Mechanisms
Screw-type chain adjusters use threaded bolts to position the rear axle or its sliding carrier. Turning a bolt makes it press against the axle assembly, moving the wheel backward to tighten the chain or forward to loosen it. The exact arrangement varies by frame. Small turns matter. A quarter-turn can noticeably change axle position on some setups.
Adjust both sides in small, even increments, then check that the wheel remains centered. Unequal adjustment can misalign the wheel and affect handling. After setting chain slack to the motorcycle or bicycle manufacturer’s specification, tighten the axle hardware and recheck the measurement. Rotate the wheel and inspect slack at several points; chains may have tight spots. A screw adjuster cannot correct a worn or damaged chain. It is easy to overlook that distinction.
Tips: Clean exposed threads before adjusting, and use the correct tool to avoid rounding the bolt head. If resistance feels unusually high, stop and check for binding rather than forcing the adjuster. These mechanisms are straightforward, but frame designs differ, so consult the service instructions for your specific setup.
Cam-Type and Eccentric Chain Adjusters
Cam-type chain adjusters use a shaped cam to move the rear axle and set chain slack. As the cam rotates, its changing profile shifts the axle within the swingarm. The adjustment is easy to see. A mechanic can compare the marks on both sides, then tighten the axle hardware to the specified torque. Those marks are useful, but they are not always precise enough to confirm wheel alignment.
Eccentric adjusters work differently. The axle sits in an offset carrier or bushing, and rotating that part moves the axle forward or backward. Small turns can make a noticeable difference, so adjust gradually. Check slack at several points while rotating the wheel; chains often have a tighter section. Too much tension can load the sprockets and bearings. Too little can cause chain slap or derailment. Neither is ideal.
Both designs reward careful measurement. Use the motorcycle’s service instructions for slack and tightening values, and verify that the rear wheel remains aligned after securing the axle. A ruler or alignment tool can help check the result. The adjuster marks may look reassuring. They can still mislead. On older or modified machines, worn parts and uneven marks deserve a closer look before the next ride.
Automatic and Hydraulic Chain Adjusters
Automatic chain adjusters use spring force and a ratchet to take up slack as a chain wears. Many designs lock each small movement, helping prevent the plunger from retreating under changing loads. They act without waiting for engine oil pressure, which can help maintain tension during startup. However, a sticking plunger or worn ratchet may leave the chain loose—or apply more tension than intended. The details vary, so installation instructions and correct fitment matter.
Hydraulic chain adjusters use engine oil pressure to push a plunger against the tensioner guide. Oil also helps damp vibration, which can reduce chain rattle during operation. Their performance depends on adequate oil supply and pressure. A brief rattle on a cold start may have several causes; sound alone cannot confirm a failed adjuster. Neither type is automatically better. The right choice depends on the engine design, operating conditions, and service requirements.
Tips: Check for leaks, damaged guides, and unusual chain movement during inspection. Follow the specified oil grade and maintenance schedule for hydraulic systems. If noise persists, have the tensioner and chain inspected together. A new adjuster may not solve wear elsewhere.
What Are the Top Types of Chain Adjusters? — Automatic and Hydraulic Chain Adjusters
This chart compares typical design features: 1 means the feature is present, and 0 means it is generally absent. Manual adjusters typically require external adjustment; spring-loaded automatic adjusters use spring force; hydraulic automatic adjusters use oil pressure, usually alongside a spring. Designs vary by application.
Applications and Selection of Chain Adjusters
What Are the Top Types of Chain Adjusters?
Applications and Selection of Chain Adjusters
Chain adjusters keep slack within a workable range as a drive operates. Slotted-base adjusters suit fixed machinery, such as conveyors, where workers can reposition a motor and lock it down. Screw-type adjusters allow finer movement on compact assemblies. Spring-loaded units compensate for changing slack in vibrating or frequently starting equipment. Hydraulic designs suit heavier loads, but add parts that need inspection. The right choice depends on load, vibration, access, and how often tension changes.
For selection, check the chain pitch and sprocket layout against ANSI/ASME B29.1, which defines dimensions for precision roller chains and sprockets. Then measure chain elongation, rather than judging tension by feel alone. Maintenance guidance commonly uses about 1.5% elongation as a replacement point for precision drives; less critical drives may tolerate close to 2%. These are practical benchmarks, not universal limits. A long conveyor and a short, high-speed drive can respond differently to the same slack.
Tips: Check tension at the chain’s midpoint, with the machine isolated. Leave slight movement; overtightening adds bearing load. Recheck after initial run-in. It is easy to focus on the adjuster and overlook worn sprocket teeth, which can quickly undo a careful setup.