Top 10 Tips to Make Your Own Circuit Board Easily?
Creating your own electronics can be highly rewarding. Many enthusiasts want to make their own circuit board, but it can feel overwhelming. With the right guidance, anyone can begin this exciting project.
Start by gathering essential materials like copper-clad boards and etching solution. The process involves designing the layout using software, then transferring that design. Patience is key, as mistakes can happen at any step. A small error may result in a non-functional board, but that's part of the learning curve.
This venture allows for creativity and innovation. However, it also requires careful reflection on each attempt. Consider every failure as a stepping stone to improvement. Embracing challenges can lead to successful circuit designs. The journey of making your own circuit board can enhance both your skills and understanding of electronics.
Understanding the Basics of Circuit Board Design and Functionality
Designing a circuit board can be both an art and a science. Understanding the basics is essential for anyone looking to create their own boards. Circuit boards house electrical components and facilitate their connections. They transform ideas into functional electronics.
An estimated 60% of electronics malfunction due to poorly designed circuit boards, making good design crucial.
When laying out a circuit board, be mindful of component placement. Components should be positioned to minimize interference. According to a recent study, about 30% of errors arise from improper spacing between traces and components. Keep traces short and avoid sharp bends. This helps maintain signal integrity. A clean layout can significantly enhance performance.
Materials used in circuit board manufacture also matter. The most common is FR-4, a glass epoxy laminate. It offers excellent thermal stability and electrical insulation. However, consider its environmental impact. A growing push for eco-friendly materials is evident in the industry. While cost-effective, it is essential to weigh performance against sustainability. Designing a circuit board is a process of trial and error. Learning from mistakes is often the best way to improve.
Materials and Tools Needed for DIY Circuit Board Creation
Creating your own circuit board can be a rewarding project. To start, gather essential materials and tools. You will need copper-clad boards, etching solution, and a UV light source. A soldering iron is crucial for connecting components. Additionally, a multimeter helps ensure that your circuits work as intended.
The process of designing your circuit can be challenging. Experimenting with layouts may lead to mistakes. Sometimes, a poorly designed circuit can be frustrating. Using software for design helps, but it can be complex. Don't forget drill bits for holes and a resistive pen to draw circuits directly. It’s okay if your first board doesn’t work perfectly. Learning from errors is part of the DIY experience. Each attempt enhances your skills and knowledge in electronics.
Step-by-Step Process for Designing Your Circuit Board Layout
Designing your own circuit board can be an exciting project. Begin with a clear idea of what you want to create. Sketch your circuit on paper first. Visualizing your components helps identify crucial connections. It’s an essential step, but be ready to alter your design as you proceed.
Next, choose suitable software for your circuit layout. Many programs enable you to create digital versions easily. Start placing components according to your sketch. Pay attention to the spacing. A crowded layout might seem tempting, but it can lead to mistakes. It's better to keep it clean and organized.
After laying out the components, double-check your connections. Mistakes like short circuits can be easy to overlook. It’s advisable to step back and review everything. Quiet time often leads to clarity. Once satisfied, you can move on to etching your board. Remember, perfection is a goal, but errors may occur. Each mistake is a learning opportunity. Embrace the process and refine your skills.
Techniques for Etching and Manufacturing the Circuit Board
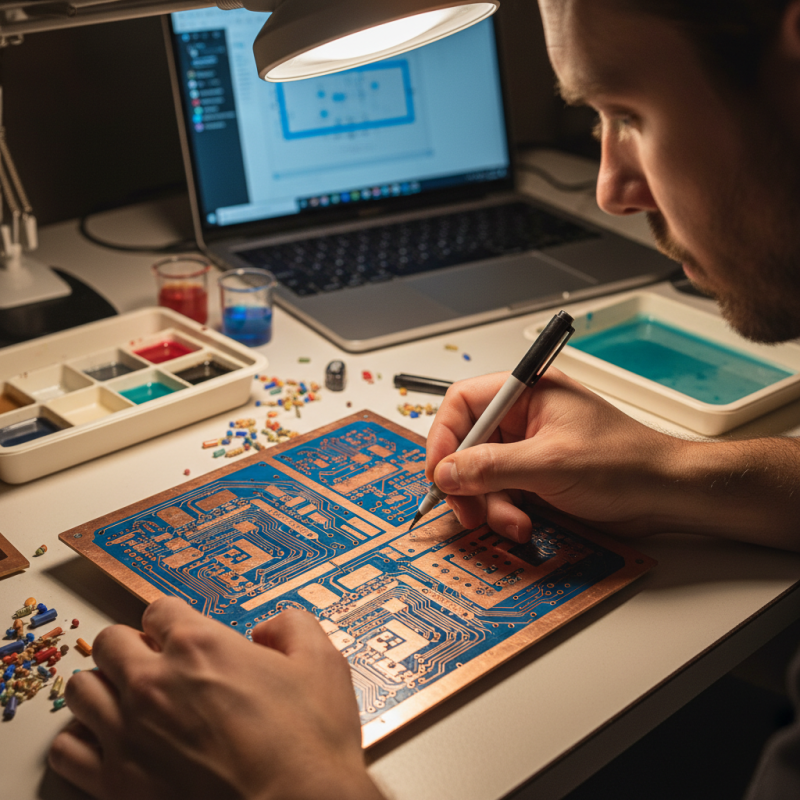
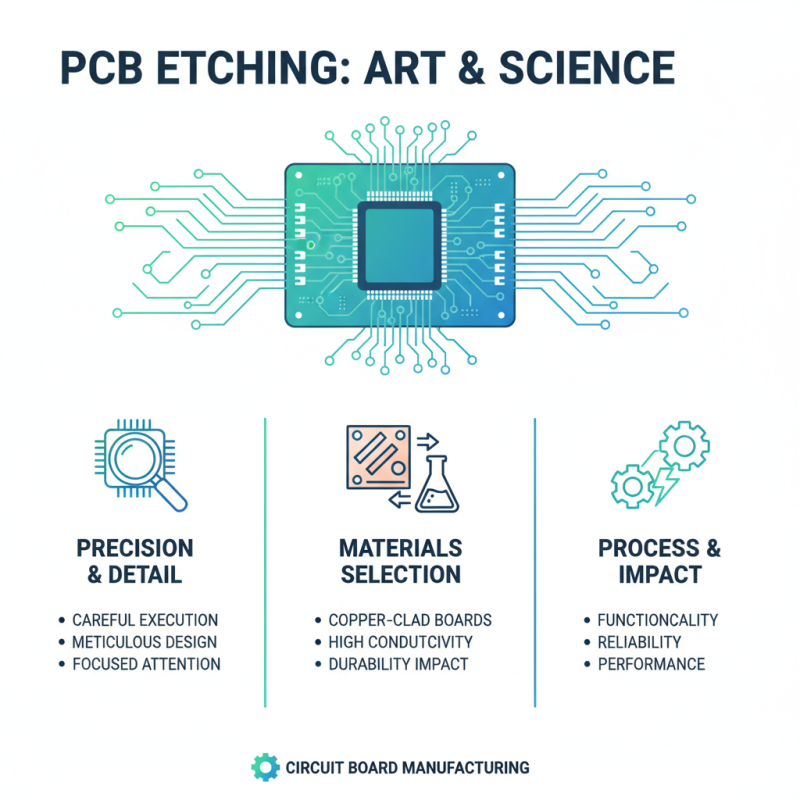
Etching a circuit board is an art and science. It requires precision and attention to detail. The process begins with selecting the right materials. Copper-clad boards are common due to their conductivity. Yet, the choice can impact both functionality and durability.
For etching, a ferric chloride solution is often used. This method is effective but can produce inconsistent results. A recent industry report noted that improper etching techniques lead to 30% of DIY projects failing during the testing phase. Using a laser printer to transfer designs can improve accuracy, yet misalignment is still a common issue. The ideal temperature for etching is around 50 degrees Celsius, but many hobbyists overlook this detail.
Manufacturing can be equally challenging. Techniques like screen printing and CNC milling offer great results. However, skilled labor is essential. According to research, 40% of newly designed boards require design adjustments after testing. Understanding the manufacturing process is crucial. Each failure is a learning opportunity but requires reflection on techniques. Proper planning reduces mistakes and enhances overall outcomes.
Testing and Troubleshooting Your Finished Circuit Board
Testing and troubleshooting your finished circuit board is a crucial step in the development process. Start with a visual inspection. Look for any obvious soldering issues. Check for shorts, cold joints, or missing components. Sometimes, problems are easy to spot. A good pair of magnifying glasses can help you see small flaws.
Once the visual check is done, power the circuit carefully. Use a multimeter to check the voltage at various points. If the readings do not match your expected values, it’s time to dig deeper. Try to isolate sections of the circuit. This method helps find the malfunctioning part more efficiently. Remember that some issues may arise from design flaws, not just assembly errors.
After isolating potential problems, begin replacing suspect components. Sometimes, faulty parts are the source of your troubles. If everything seems correct but it still doesn't work, revisit your schematic. A small mistake in the design may cause significant issues later. Document your findings, as it can guide future projects. Learning from these challenges builds your skills. Embrace the process, even if it is frustrating at times.