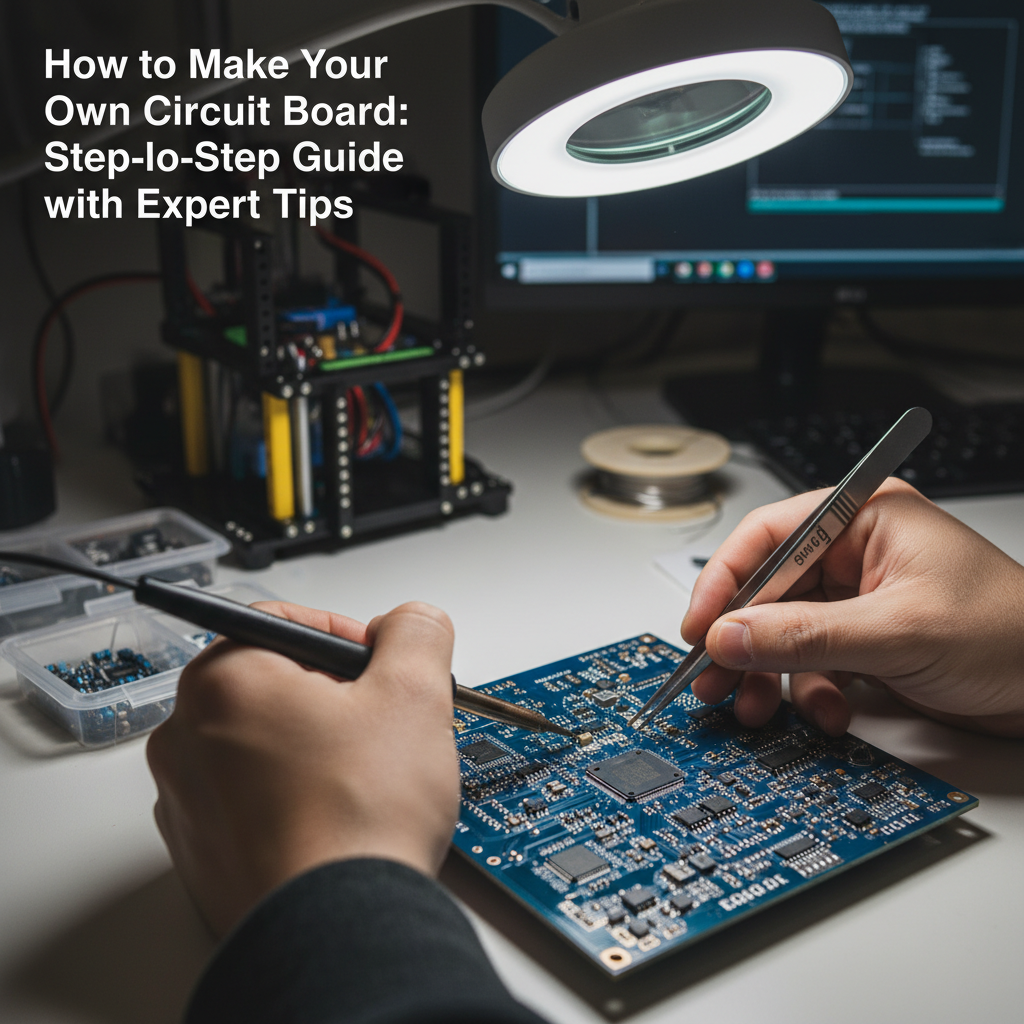
How to Make Your Own Circuit Board: Step-by-Step Guide with Expert Tips
In the rapidly evolving world of electronics, the ability to make your own circuit board has become an invaluable skill for hobbyists and professionals alike. According to a recent report by MarketsandMarkets, the global PCB market is expected to reach USD 80.9 billion by 2026, highlighting the growing importance of custom electronics in various industries. As technology advances, the demand for tailored circuit boards is increasing, enabling creators to develop unique solutions for everything from consumer gadgets to intricate robotics.
 Renowned electrical engineer and PCB design expert, Dr. Emily Chen, emphasizes the significance of understanding the intricacies involved in circuit board fabrication. She states, "To truly innovate in electronics, one must master the ability to make your own circuit board. It empowers creators to bring their ideas to life with precision and creativity." This insight underscores the necessity for aspiring engineers and hobbyists to grasp the foundational skills for designing and producing custom PCBs.
In this step-by-step guide, we will explore the essential techniques and expert tips necessary for successfully making your own circuit board. Whether you are a beginner eager to learn the basics or a seasoned maker looking to enhance your skills, this guide aims to equip you with the knowledge needed to bring your electronic projects to fruition.
Choosing the Right Materials for Your DIY Circuit Board Project
When embarking on a DIY circuit board project, selecting the right materials is crucial for achieving a successful outcome. The foundation of any circuit board is the substrate, which serves as the base for the components and the conductive pathways. Commonly used materials include fiberglass epoxy, commonly known as FR-4, and phenolic paperboard. FR-4 is favored for its durability and excellent electrical insulation, making it ideal for a variety of projects, while phenolic is a cost-effective option for simpler circuits.
In addition to the substrate, choosing the appropriate copper cladding thickness is essential. Standard thicknesses range from 1 oz to 2 oz per square foot; thicker copper is recommended for high-current applications to ensure reliability. Furthermore, consider the type of solder and soldermask you will use. Lead-free solder is becoming the industry standard for environmental safety, while solder masks come in various types, affecting the board's durability and ease of soldering. By carefully selecting these materials, you can enhance the performance and longevity of your DIY circuit board, ensuring it meets your project's requirements.
Essential Tools and Equipment Needed for Circuit Board Fabrication
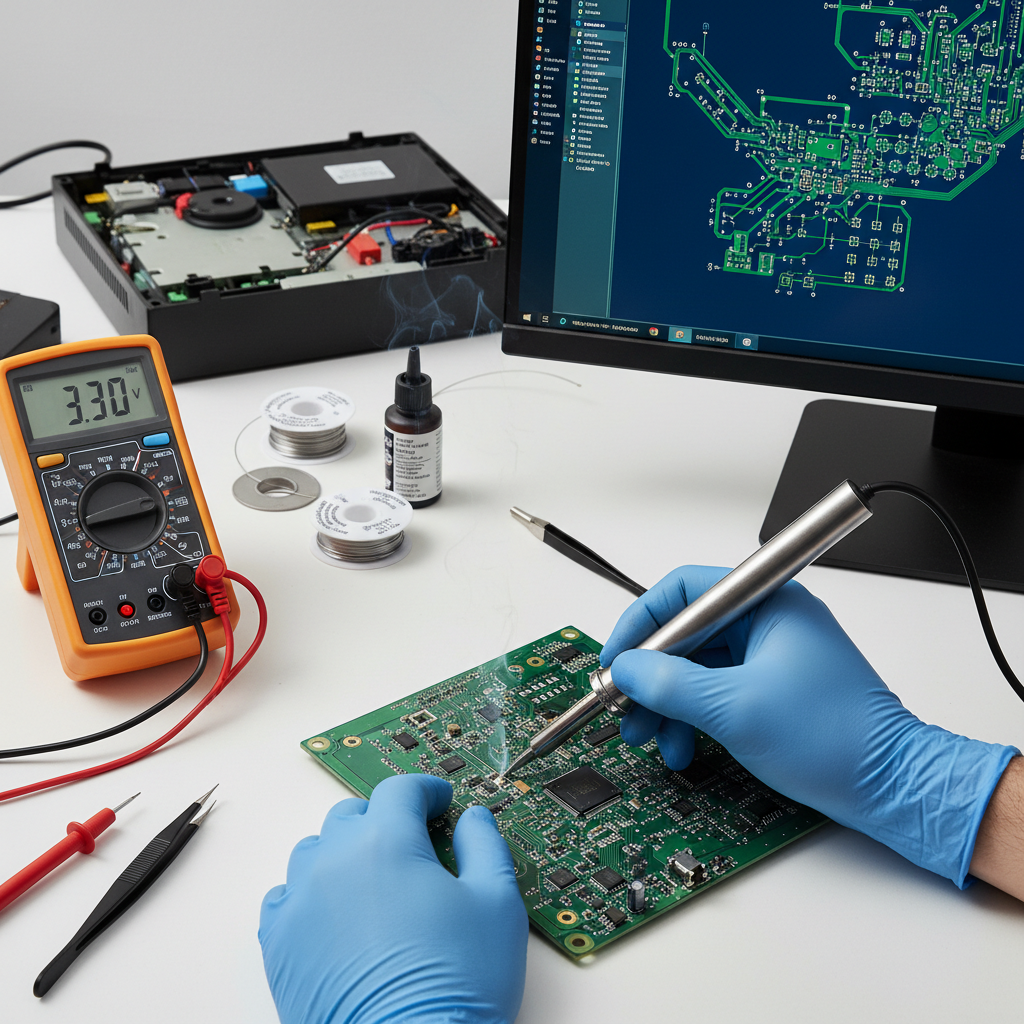
When embarking on the journey of circuit board fabrication, having the right tools and equipment is crucial for achieving efficiency and precision. According to a report from Research and Markets, the global printed circuit board (PCB) market is expected to grow to $100 billion by 2025, underscoring the increasing importance of quality in electronic manufacturing. To set your foundation right, essential tools for PCB fabrication include a high-quality soldering iron, a multimeter for testing, and a PCB design software like Eagle or KiCAD, which allows for detailed layouts and simulations.
In addition to the basics, investing in a UV light box for exposure and a developing station can significantly improve the quality of your boards. Resistors, capacitors, and microcontrollers should also be on hand to create functional prototypes. A comprehensive report by IPC — Association Connecting Electronics Industries notes that nearly 70% of PCB defects stem from poor fabrication practices. Thus, utilizing precision tools not only enhances product quality but also reduces the overall cost of production in the long run, ultimately leading to more successful electronic projects.
Step-by-Step Process to Design Your Circuit Board Layout
Designing your own circuit board can seem daunting, but with a step-by-step process, it becomes an achievable task. Begin by sketching your circuit layout on paper. This initial draft should include all components such as resistors, capacitors, and integrated circuits, ensuring to account for their connections. Once you have your basic schematic, you can utilize PCB design software which allows for more precise placements and routing of traces. Popular tools like Eagle or KiCad offer user-friendly interfaces and extensive libraries of electronic components.
Next, focus on defining the board dimensions and layout. It’s essential to arrange components logically, minimizing trace lengths and avoiding interference between signal lines. Pay close attention to the power distribution to prevent voltage drops, especially for high-current paths. Once your design is finalized, perform a design rule check (DRC) to catch potential errors before fabrication. After ensuring that everything is correct, you can export the Gerber files and send them off to a PCB manufacturer. By following these organized steps, you will create an efficient and functional circuit board tailored to your specific needs.
Techniques for Etching and Creating Tracks on Your Board
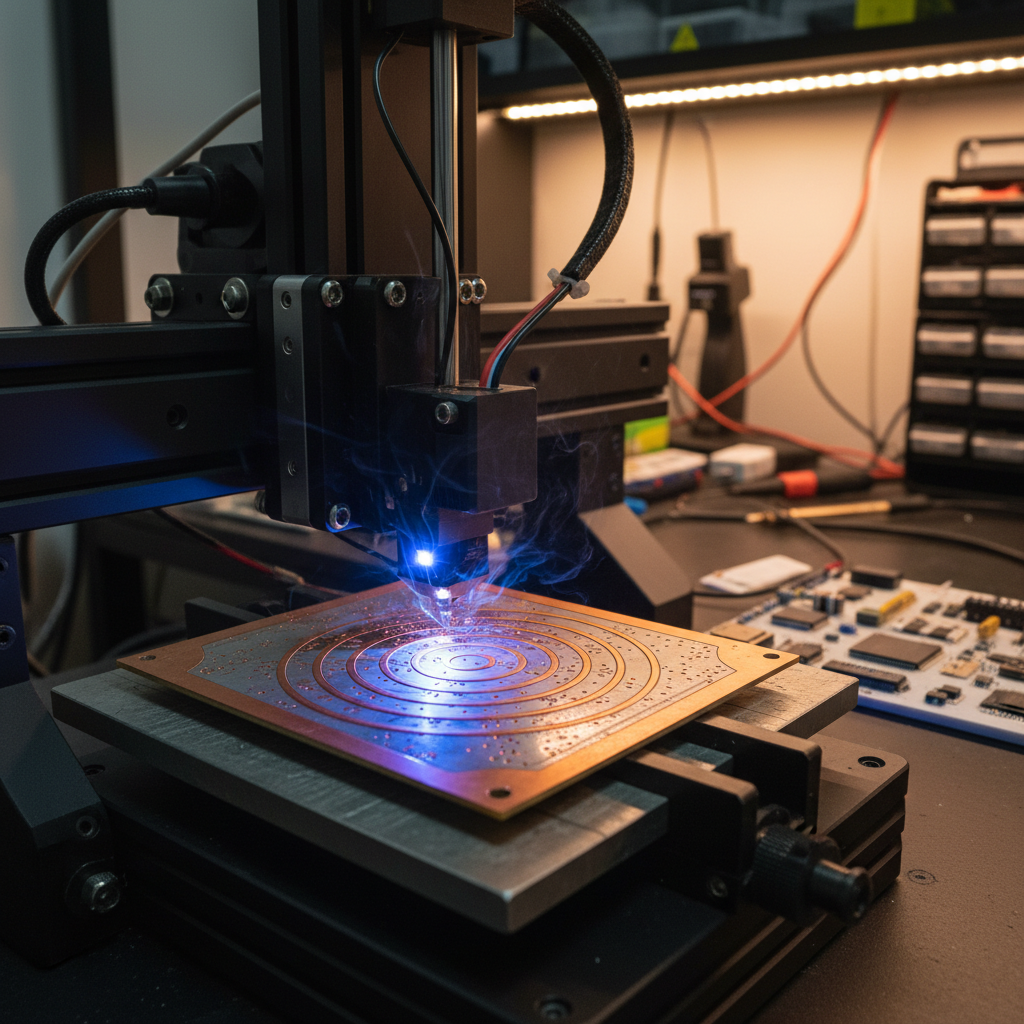
In the current landscape of electronics, creating your own printed circuit boards (PCBs) has never been more accessible. With advances in technology, techniques like etching with a powerful laser diode mounted on a CNC machine have gained popularity. This method allows for precise and intricate designs on copper-clad boards, making it an attractive option for hobbyists and professionals alike. According to a recent industry report, the global PCB market is projected to reach over $80 billion by 2026, highlighting the growing interest and demand for custom PCB manufacturing.
When it comes to etching techniques, one of the most effective methods involves using a 3D printer to create PCBs. This innovative approach leverages the capabilities of standard 3D printers combined with conductive materials, resulting in superior quality boards that rival traditional circuit board printers. To achieve optimal results, ensure your printer settings are calibrated correctly and experiment with different materials to find the best fit for your projects.
Tips: Always wear protective gear when working with chemicals or lasers, as safety should be your top priority. Additionally, invest time in learning the software that controls your CNC machine or 3D printer, as mastering these tools can significantly enhance your circuit board designs and production efficiency.
Expert Tips to Troubleshoot Common Circuit Board Issues
When creating your own circuit board, it’s crucial to be prepared for common issues that may arise during the process. According to a recent report by the IPC (Association Connecting Electronics Industries), approximately 30% of all circuit board failures are attributed to manufacturing defects, which underscores the importance of a meticulous approach. One common issue is incomplete solder joints, often caused by insufficient heating or improper solder application. To troubleshoot, ensure your iron is sufficiently heated and the solder flows adequately to each joint during assembly.
Another frequent problem is signal integrity issues, which can lead to data loss or circuit malfunctions. Research from the IEEE reveals that poor layout design accounts for nearly 40% of signal integrity problems in circuit boards. To combat this, focus on optimal trace routing, maintaining appropriate distances between traces, and employing ground planes to mitigate interference. Additionally, performing simulations using software tools before finalizing your design can identify potential pitfalls early in the development process, significantly reducing troubleshooting time later on.
How to Make Your Own Circuit Board: Step-by-Step Guide with Expert Tips
| Step |
Description |
Expert Tip |
| 1 |
Design your circuit schematic using software. |
Use a well-known software tool for better support and resources. |
| 2 |
Transfer the design to a PCB layout. |
Ensure proper trace width for current requirements. |
| 3 |
Print the design onto a copper board. |
Use high-quality printer settings to avoid smudging. |
| 4 |
Etch the board using the right chemicals. |
Always wear safety gear during the etching process. |
| 5 |
Drill holes for components. |
Use a drill press for more precise hole placement. |
| 6 |
Solder components onto the board. |
Practice soldering techniques on scrap material. |
| 7 |
Test the circuit for functionality. |
Use a multimeter to check for shorts before powering up. |
Common Circuit Board Issues and Solutions
| Issue |
Possible Causes |
Solution |
| No power |
Broken connections or faulty components. |
Check connections and replace faulty parts. |
| Overheating |
Overloaded components or inadequate cooling. |
Reassess load and improve heat dissipation. |
| Signal interference |
Improper routing or external sources. |
Review routing and add shielding if necessary. |
| Unresponsive components |
Incorrect soldering or damaged parts. |
Re-solder connections and test components. |